
yolo初步
参考文献:
A simple way of creating a custom object detection model(这个就是卓晴教程的原版)
YOLOv5的详细使用教程,以及使用yolov5训练自己的数据集_yolo5训练集-CSDN博客
使用预训练模型
安装环境依赖
克隆项目
1 | git clone https://github.com/ultralytics/yolov5 # clone repo |
镜像
1 | git clone https://github.com.cnpmjs.org/ultralytics/yolov5 # clone repo |
必要环境
官方给出的要求是:python>=3.7、PyTorch>=1.5
1 | cd yolov5 |
1 | # pip install -U -r requirements.txt |
下载预训练模型和标注数据集
执行脚本下载模型
1 |
|
(attempt_download函数在/yolov5/utils/google_utils.py脚本中定义)
下载标注数据集
1 | python3 -c "from yolov5.utils.google_utils import gdrive_download; gdrive_download('1n_oKgR81BJtqk75b00eAjdv03qVCQn2f','coco128.zip')" # download dataset |
执行上面的代码,会下载:coco128.zip数据集,该数据是COCO train2017数据的一部分,只取了coco数据集中的128张标注的图片,coco128.zip下载完后解压到/yolov5目录下即可,解压后的coco128文件结构如下:
1 | coco128 |
/yolov5/utils/google_utils.py脚本是下载预训练模型和标注的训练数据集,该脚本代码内容如下:
1 | # This file contains google utils: https://cloud.google.com/storage/docs/reference/libraries |
训练下载的coco128数据集
创建训练数据集的配置文件Dataset.yaml
上面下载好coco128.zip小型数据集之后,这些数据集可以用于训练和验证
/content/yolov5/models/yolov5l.yaml。coco128.yaml中定义了:
训练图片的路径(或训练图片列表的.txt文件)
与验证集相同的图片
目标的类别数
类名列表
1 | # COCO 2017 dataset http://cocodataset.org - first 128 training images |
创建标签
对数据集进行打标签,可以选择如下两种打标工具:
Labelbox
CVAT
也可以使用LabelImg,选用ylolo格式进行标注
将标签导出为darknet格式,每个标注图像有一个.txt文件(如果图像中没有对象,则不需要.txt文件),*.txt文件格式如下:
每行一个对象
每行都是:class x_center y_center width height格式
框的坐标格式必须采用归一化格式的xywh(从0到1),如果你框以像素为单位,则将x_center和width除以图像宽度,将y_center和height除以图像的高度
类别是从索引0开始的
通过在器路径名中将/images/.jpg替换为/label/.txt,可以定位每个图像的标签文件,示例图像和标签对为:
1 | dataset/images/train2017/000000109622.jpg # image |
1 | 45 0.479492 0.688771 0.955609 0.5955 |
组织文件结构
/coco128目录应该和yolov5目录同级,同时确保coco128/labels和coco128/images两个目录同级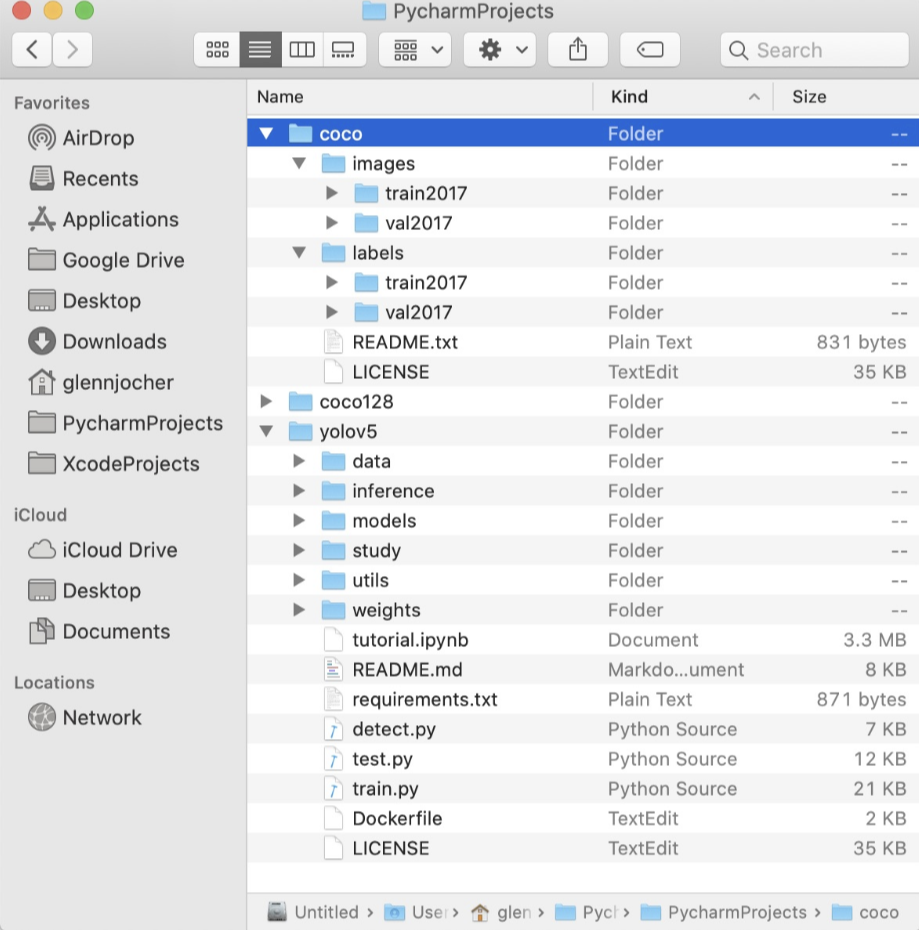
选择训练模型
上面已经修改了自定义数据集的配置文件,同时组织好了数据。下面就可以选择一个模型进行训练了。
从./models目录下选择一个模型的配置文件,这里我们选择yolov5s.ymal,这是一个最小最快的模型。关于其他模型之间的比较下面介绍。选择好模型之后,如果你使用的不是coco数据集进行训练,而是自定义的数据集,此时只需要修改*.yaml配置文件中的nc: 80参数和数据的类别列表
下面是yolo5s.ymal配置文件的内容:
1 | # parameters |
yolov5s.yaml配置文件中主要定义了:
- 参数(parameters):类别等
- anchor
- YOLOv5 backbone
- YOLOv5 head
开始训练
运行下面的命令训练coco128.ymal,训练5epochs。可以有两种训练方式,如下参数:
—cfg yolov5s.yaml —weights ‘’:从头开始训练
—cfg yolov5s.yaml —weights yolov5s.pt:从预训练的模型加载开始训练
YOLOv5在coco128上训练5epochs的命令:
1 | python train.py --img 640 --batch 16 --epochs 5 --data ./data/coco128.yaml --cfg ./models/yolov5s.yaml --weights '' |
训练的更多可选参数:
1 | --epochs:训练的epoch,默认值300 |
测试
测试的更多可选参数:
1 | --weights :预训练模型路径,默认值weights/yolov5s.pt |
1 | python test.py --weights yolov5s.pt --data ./data/coco.yaml --img 640 |
实现yolo自由(自训练模型)
数据集
首先是image的手框转换成yolo文件,我使用的是清华小丑(bushi)给的开源工具https://www.makesense.ai/生成的。(由于小车上的回传节点还没开始写就用手机try一下)
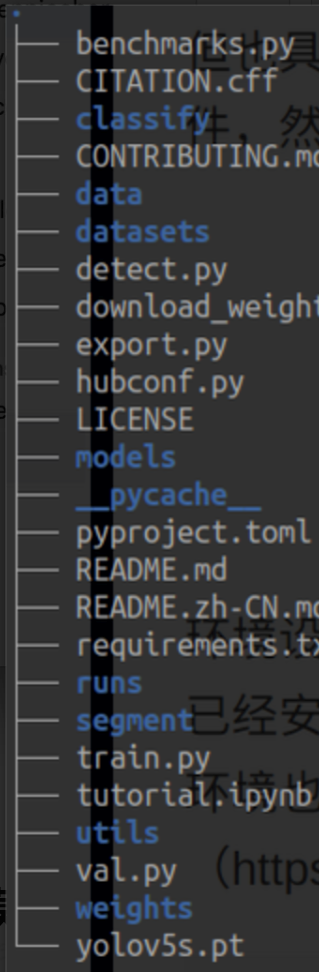
yolo环境配置
1 | git clone https://github.com/ultralytics/yolov5 # clone repo |
同上,不过目录结构似乎不太一样(尤其是datasets的部分,差异太多我干脆直接提出来了)
数据集标注好之后,存放如下目录格式:
1 | (yolov5) shl@zfcv:~/shl/yolov5$ tree hat_hair_beard |
修改配置文件
数据配置文件
1 | # YOLOv5 🚀 by Ultralytics, AGPL-3.0 license |
主要修改了train和val的路径,以及names的数量和名称(用于测试)
模型配置文件
1 | # YOLOv5 🚀 by Ultralytics, AGPL-3.0 license |
开始训练
在终端输入以下命令
1 | python train.py --img 640 --batch 8 --epochs 300 --data ./data/test.yaml --cfg ./models/test.yaml --weights ./weights/yolov5s.pt --device cpu |
各个参数作用:
- img:640×640
- batch:类别
- epochs:训练迭代次数
- data:数据配置文件位置
- cfg:模型配置文件位置
- weights: 训练权重数据,如果本地没有的话应该会自动下载,以开始训练
- device: 这个还没搞明白 正常来说是应该调用gpu的,但是我的驱动似乎有点问题,故 cpu,启动!

训练结束后,会生成两个预训练的模型:
- best.pt:保存的是中间一共比较好模型
- last.pt:训练结束后保存的最后模型
尽量把最终训练的模型保存拷贝一份,防止下载再训练给覆盖,白玩
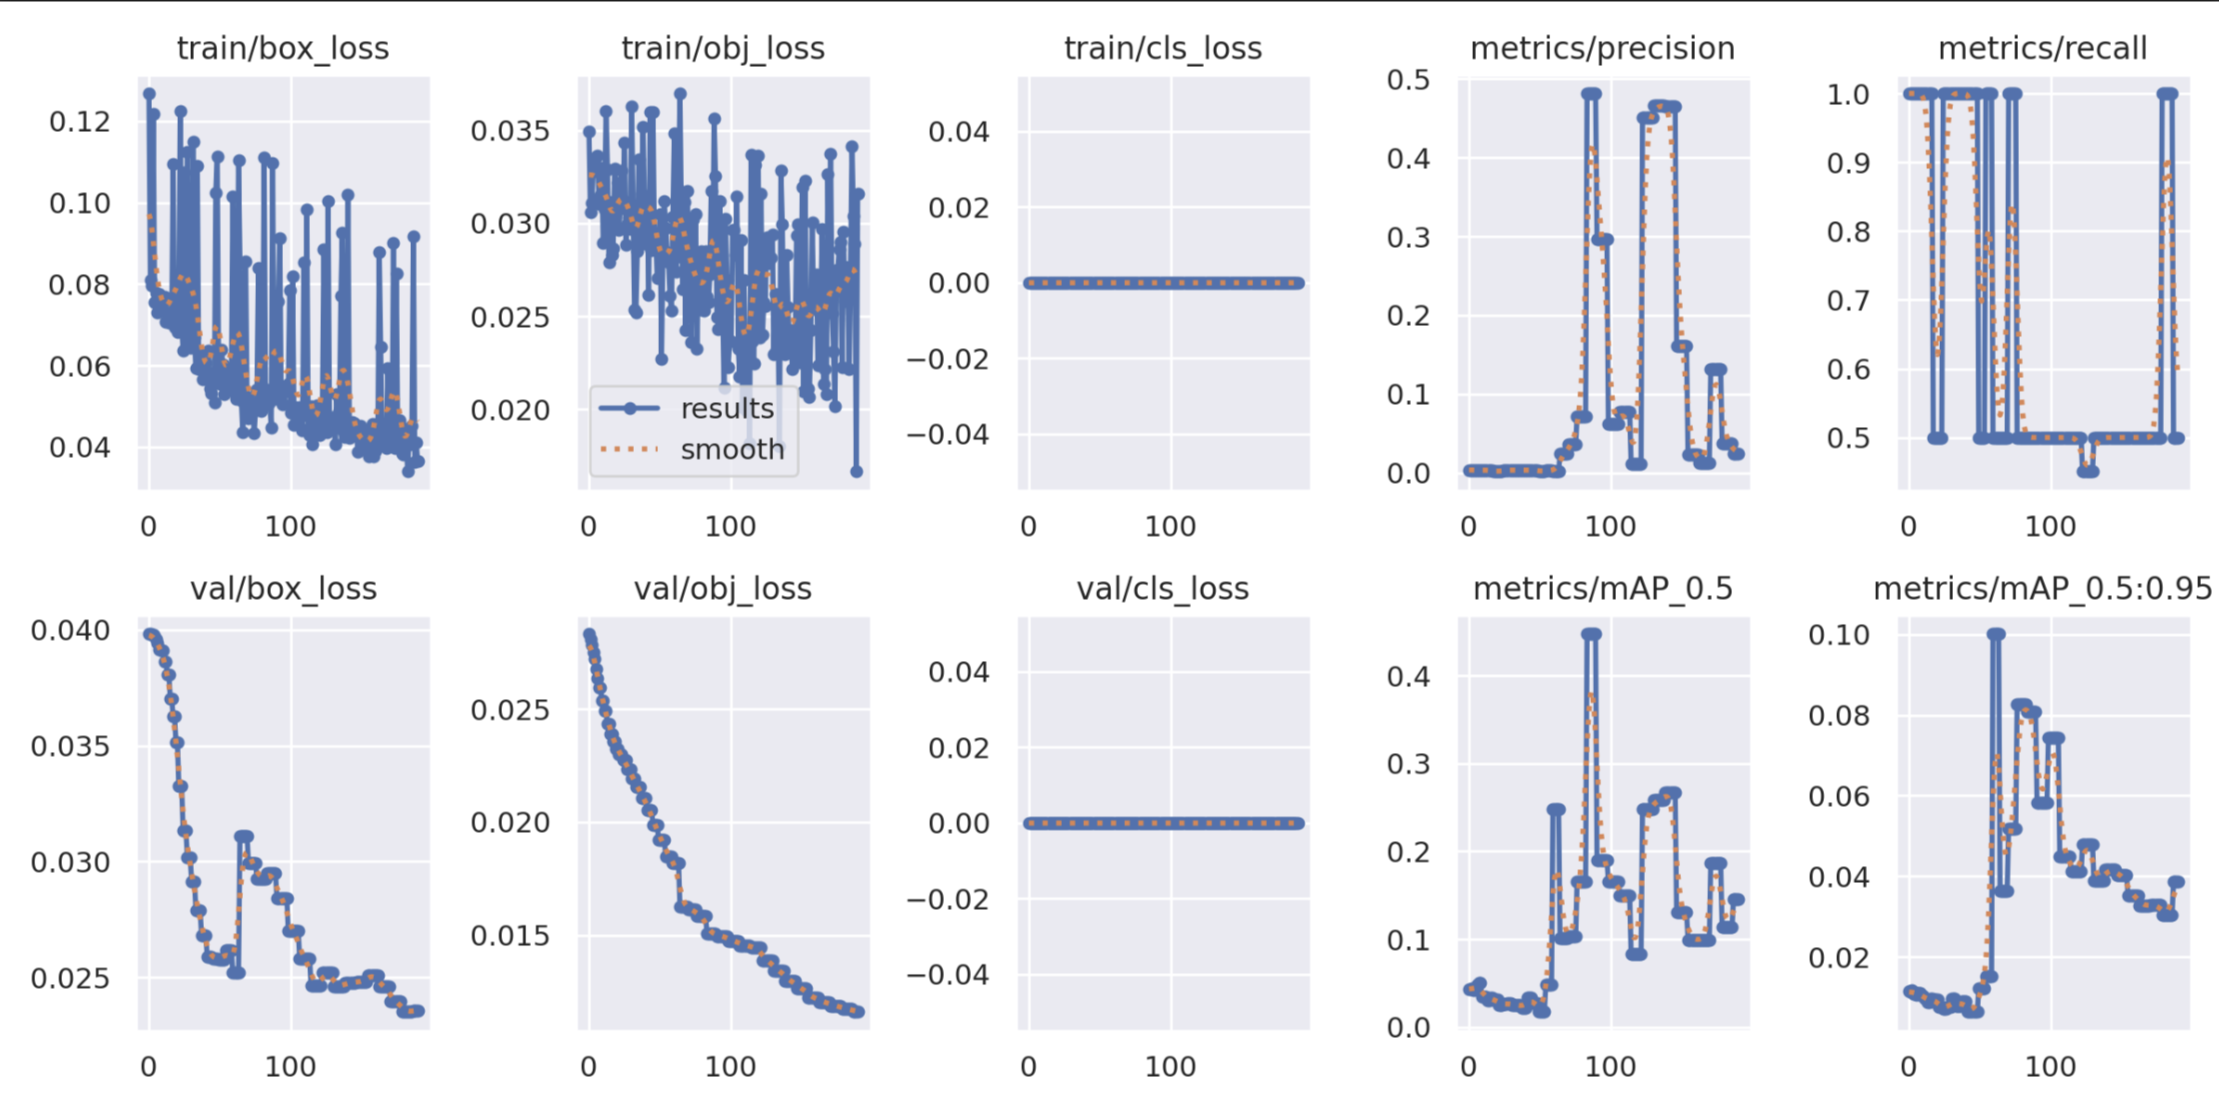
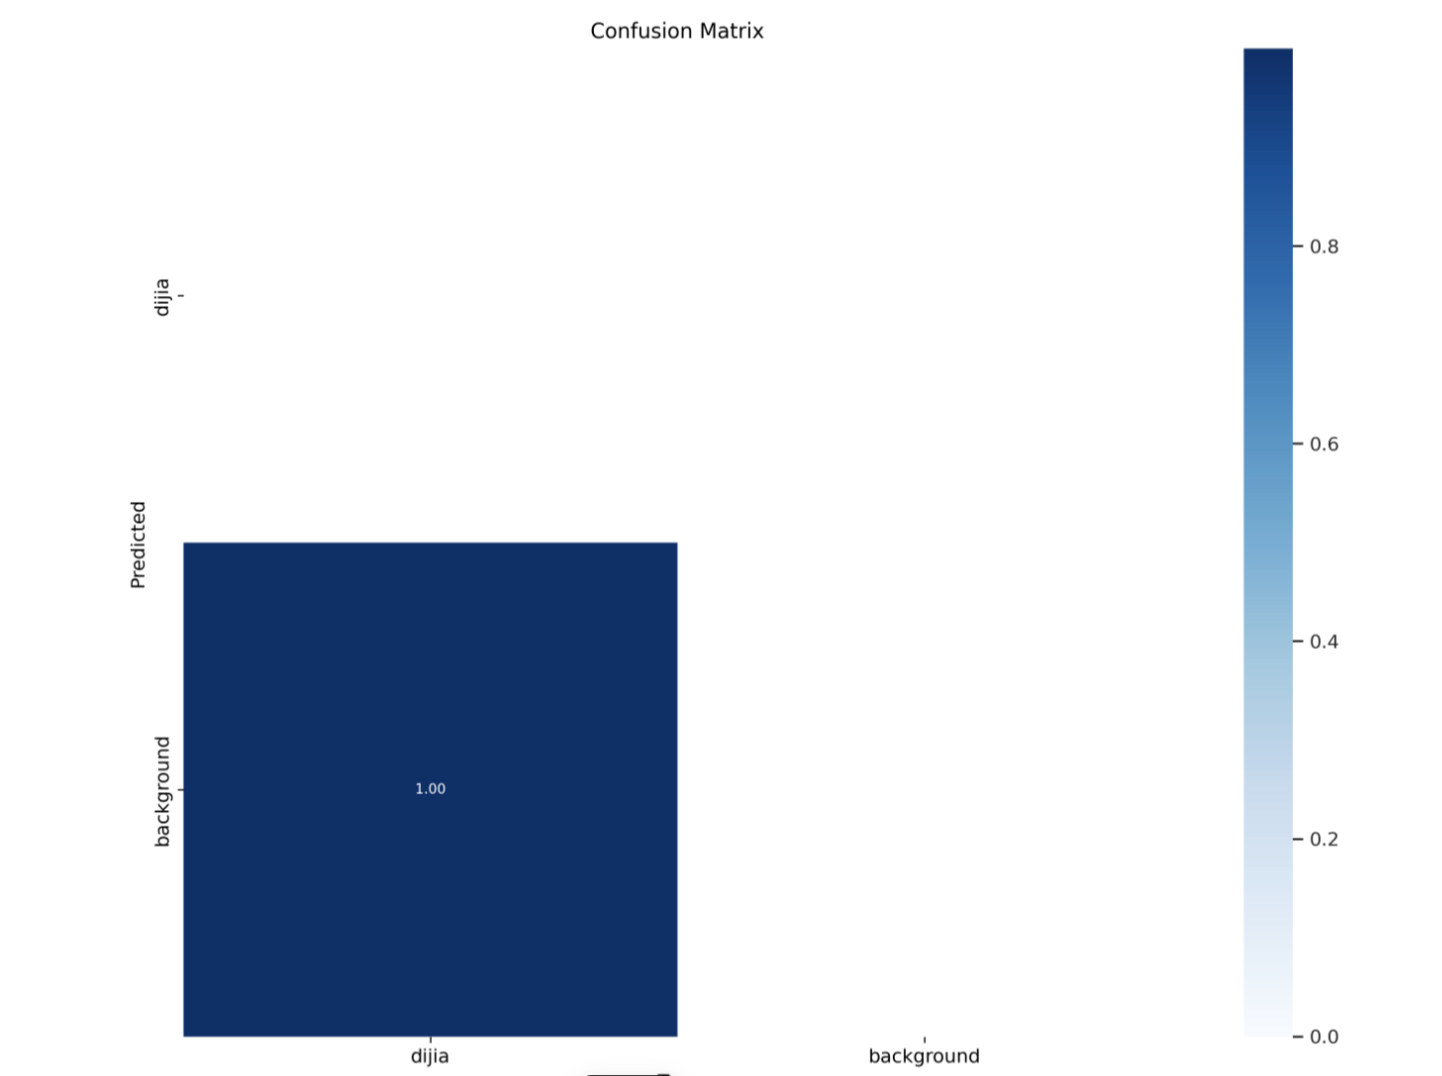
浅浅展示训练成果
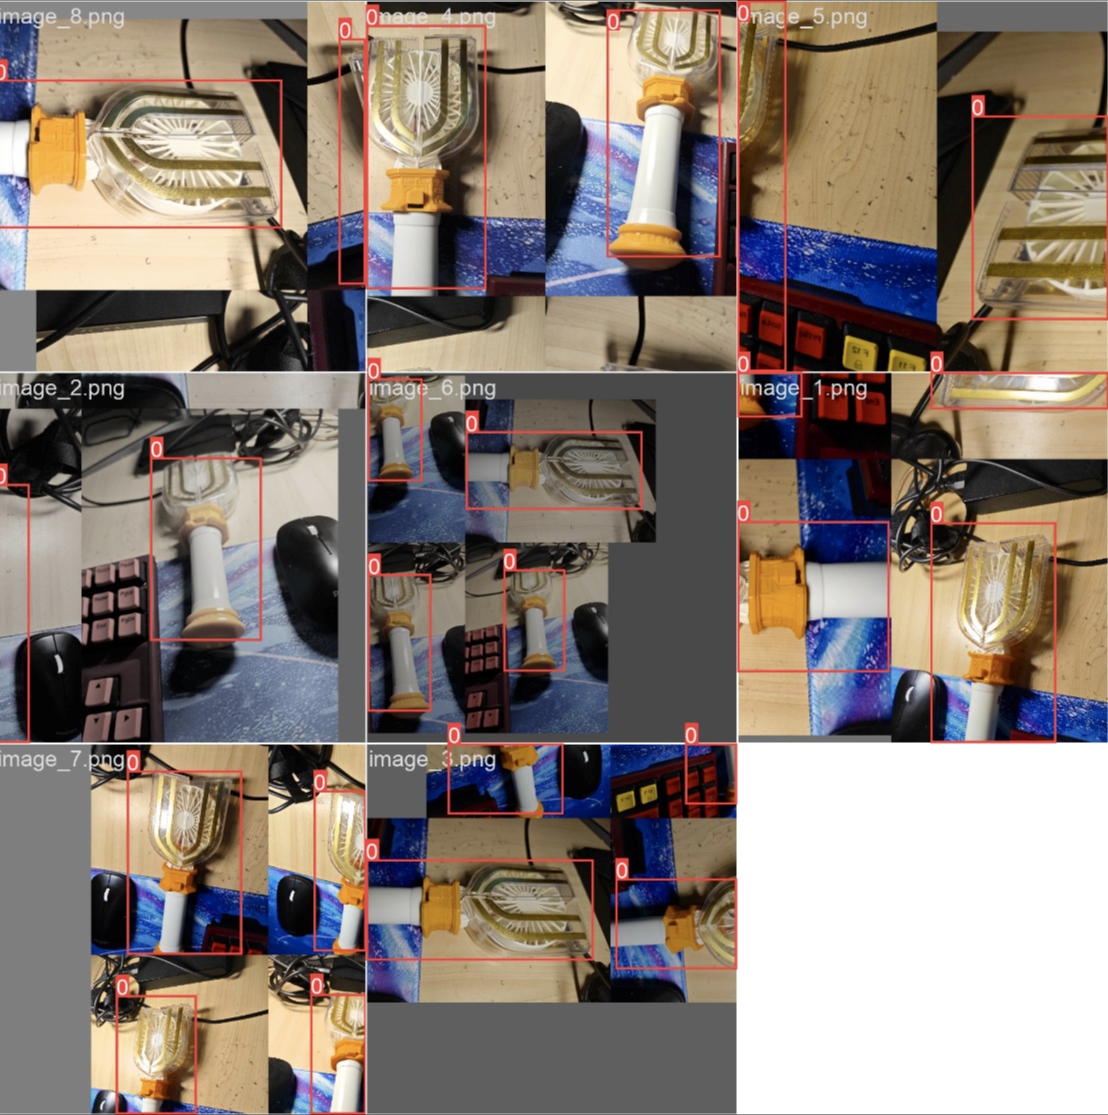
测试模型
1 | python3 detect.py --source ./data/images/image_9.png --weights ./weights/best.pt --device cpu |
由于数据量较小,准确率较低,就不放图了)
